3D printing a brain
Recently, a lab member left and I had the wild idea of 3D printing their brain as a leaving gift. As nobody had any better ideas, I was stuck: 3D printing a brain, with no experience, and limited in-person technical support (thanks, COVID). This documents my efforts and the resources I found helpful. I've included some pictures of the process, but not of the final result, as brains are pretty unique and potentially identifiable.
First of all, I found three sets of instructions that were incredibly helpful (these links open in new tabs):
I would recommend using Chris Madan's instructions for most of it, except the tridecimator part. I preferred to play around in MeshLab directly.
This is my summary of what to do (note that I printed using an Ultimaker, and also use Windows - these instructions will be most useful if you're doing the same):
- You need the raw (i.e. unpreprocessed) scan of your target brain. You ideally want the files in .nii or .nii.gz (nifi) or .dcm (dicom) format. If you have two separate T1 files, the bigger one is almost certainly the one you want. If you have .dcm, you'll probably want to convert to nifti - there are instructions for that in the Instructables blog above.
- Install freesurfer (see note at the bottom for how I did this with Windows Subsystem for Linux (WSL).
- Run recon-all, which will extract brain tissue and segment the brain, and turn it into a mesh. It will also give you two hemispheres, which is handy - I printed the two hemispheres separately. The specific command I ran is: /mnt/c/Users/apike/freesurfer/7.1.1-1//bin/recon-all -s brain_directory -all -i /mnt/c/Users/apike/freesurfer/7.1.1-1//subjects/brain_directory/t1_1.nii
- Then, chill out for a day or so. This process takes a while.
- You next need to convert rh.pial and lh.pial to files that MeshLab can open. You want to use MeshGeometry for this - download that here, by downloading the zip file and unzipping in a directory of your choice. You can then run a short bash script to convert the file types. I modified Chris Madan's bash script from the paper above to do just this part, see below.
- Afterwards, you can open the rh.pial.ply and lh.pial.ply files and play around with them in MeshLab!
- I liked the results from quadratic edge decimation (via filters -> remeshing, simplification and reconstruction -> simplification: quadratic edge collapse decimation), followed by laplacian smoothing (via filters->smoothing->laplacian). For the 'target number of faces', I went down by a scale of around 10, from 285886 to 35000 for the right hemisphere, which ended up the kind of resolution I wanted. For the smoothing, I just used the defaults.
- Save your finished objects as .stl files (via 'export mesh as').
- Install Ultimaker Cura to finalise your design (unless someone is doing this part for you!).
- Optional: ensure the brain is the scale you want it. I printed using a scale of 50%, and the two hemispheres were each 40g or so. This was great for what I wanted, and I estimate you would use a lot more plastic for a full-size brain.
- The default settings will do too much detail and density for most purposes. Edit them by clicking on the panel on the top right, which says something like 'fast - 0.2mm, 10%'. I set the layer weight to 0.2, infill density to 10% (though I've seen people saying even 2% or 5% is ok). The print temperature is material dependent but for PLA it's typically around 200 degrees.
- Rotate the brain so the surface you're least interested in is at the bottom (via the rotation menu snap rotation and selecting the surface). You can check the success of this - any surfaces that show up as red are not flush to the platform, which you want minimise as much as possible as these are the parts you'll have to add extra material to (see next step).
- Add supports and a skirt - this is extra printed material, so that the plastic doesn't just smear (turns out you can't just print into thin air, so you need to have some kind of structure if there are any elements that are not flush to the printing platform). If you have two different materials, make the supports another colour so you can see them more easily and know which parts to remove. A note on this - the supports were apparently hard to remove using tweezers from the ventricles, so you might want to try avoiding this... or if not, you'll just have to sacrifice some pairs of tweezers. This is why it's good to have the surface you're least interested in horizontal to the platform - this surface will be the one most covered in extra plastic supports.
- Press the blue slice button, and then preview your design. You should see an estimate of how long it'll take at the bottom. I would also 'save to disk' just so you have the file correctly rotated and ready to go in case something goes wrong and you need to reprint.
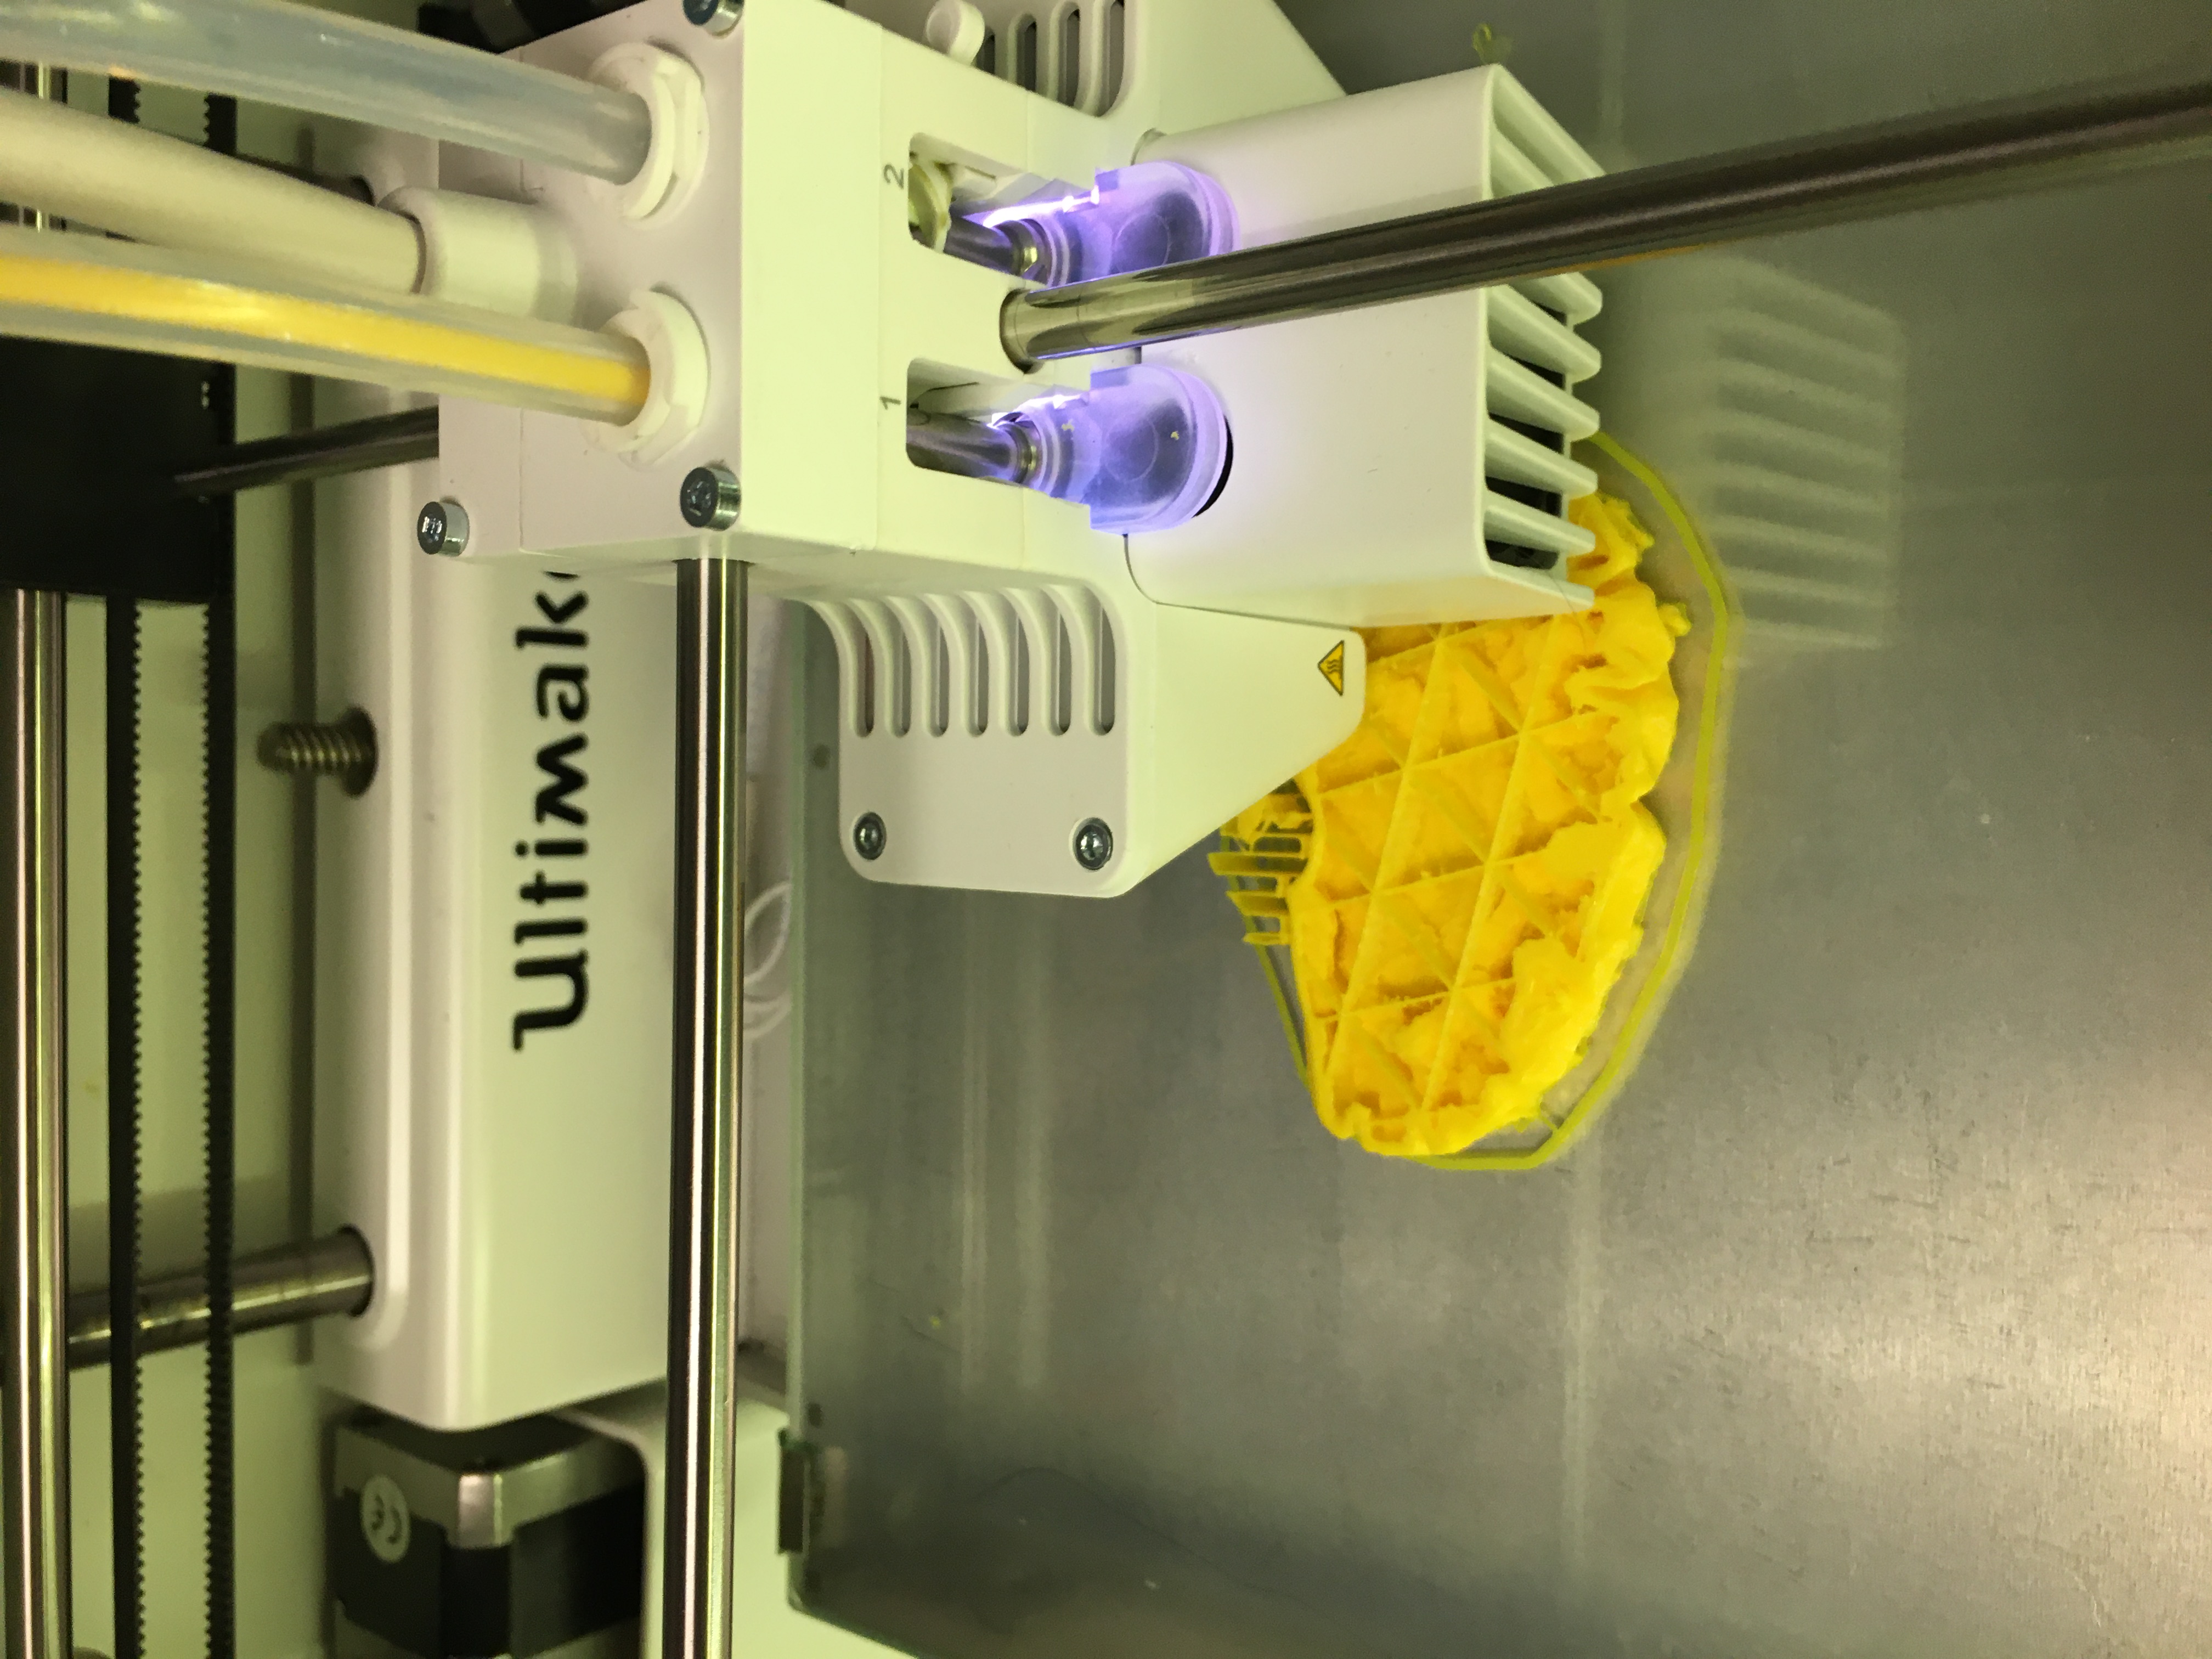
- Ensure you're connected to your chosen printer, and have inserted the relevant plastic, and press print! You should check as it's starting - by the time it's a few hours in things should be ok, as most problems will happen early on (plastic not coming out, smearing, etc.)
Installing freesurfer
This is a huge pain if you have Windows. In the end, I followed these instructions and used Windows Subsystem for Linux (WSL). You do, however, need to do something called 'screen forwarding', to allow freesurfer to actually open graphical interfaces within WSL. I found that you can do this by opening WSL (I used MobaXTerm to do this), and at the top it shows you what your display is set to. Then, type: export DISPLAY=192.XX.XX.X:X.X.
Converting to .ply
This script is adapted from Chris Madan's paper, linked above, but shortened so it just converts the files output by freesurfer to a format MeshLab can read.
mg=/mnt/c/Users/apike/freesurfer/meshgeometry-master/meshgeometry_linuxcd $FREESURFER_HOME/subjects/vbrain/surf/
f=rh.pial
$mg -i $f -centre -o $f.ply
f=lh.pial
$mg -i $f -centre -o $f.ply
UCL-specific factors
The Institute of Making is a good resource if you're trying to print at UCL. They have 3D printers and the relevant software, and you can ask them for advice or help.